Gift wrapping clothes can be tricky - the items are all floppy and mishapen and it can be difficult to wrap them in a manner that looks elegant and presentable. I’m here to help though and below I have created a guide on how to gift wrap clothing.
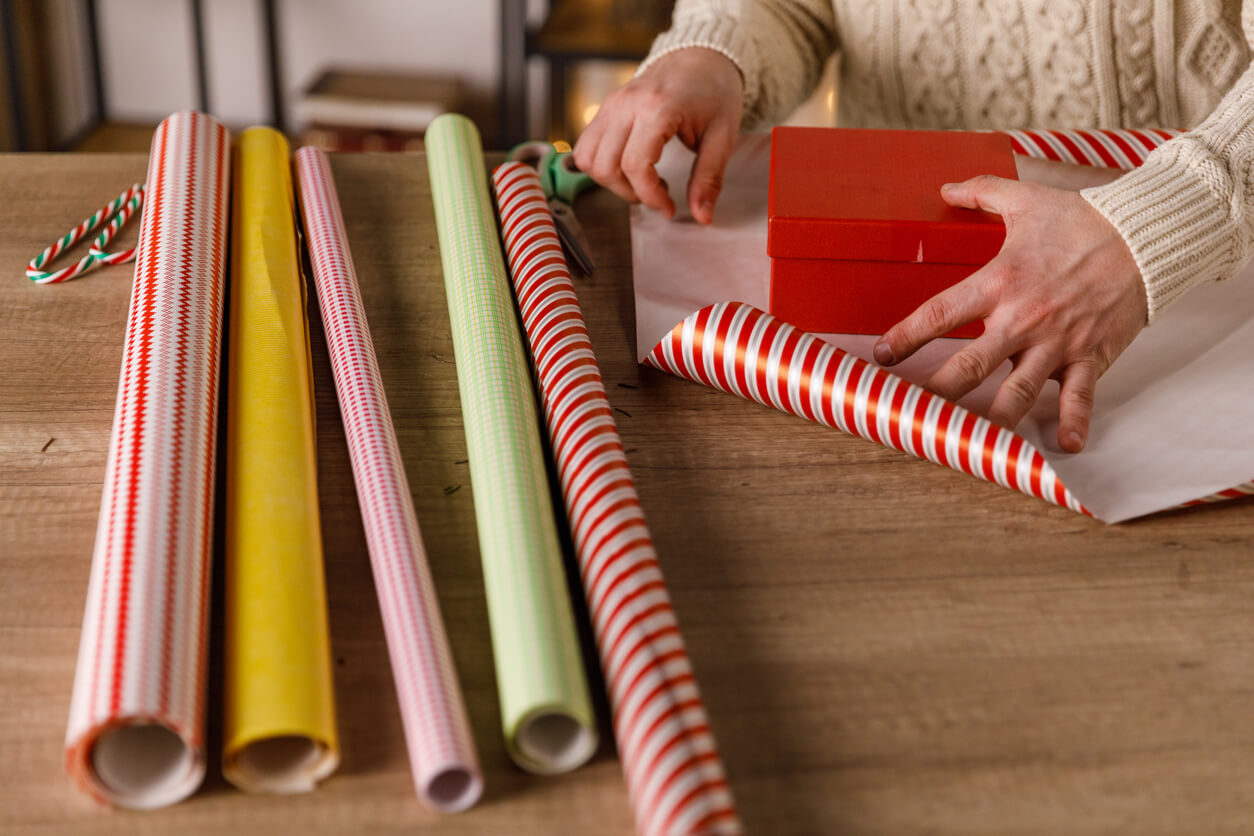
It’s important to choose the right paper such as wrapping paper for baby shower gifts and I would advise choosing paper that is durable and slightly thicker as this helps counter the floppiness of the clothing and makes wrapping easier.
A Simple Guide to Gift Wrapping Clothing
This guide on how to gift wrap clothing applies to any type of clothing. The real key is preparing and folding the item(s) of clothing neatly. The aim is to essentially fold it into a rectangular shape as you can then wrap the gift using a fairly standard method.
Step 1 - Preparation
As with any gift-wrapping session, I like to get prepared first and this includes gathering my essentials (tape, scissors, wrapping paper), and clearing a large working space on my dining room table. Don’t try and work in a cramped space as you will just make the task more difficult!
Step 2 - Measure and cut
Once you are prepared, you need to measure your gift wrap. Place your gift roughly in the center of the wrapping paper. You now need to fold the left-hand side of the paper over onto the top of the clothing. It must be long enough to reach a little past the center of the gift.
Repeat the same process on the right-hand side, but make sure the paper folds over further than the center of the gift. By doing this on both sides, you ensure a dual overlap and that you aren’t left with a horrible gap in between the paper!
For the top and bottom, there must be enough excess paper to fold over and account for the height of the pile of clothes.

Step 3 - Create and secure the initial fold
Place your item(s) of clothing into the center of the wrapping paper. Make sure that the clothes are folded neatly and as flatly as possible as this makes wrapping easier.
Take the left-hand side of the wrapping paper and fold it into the middle of the gift. I usually run my fingers along the fold to make a more definitive crease so the paper stays in place. While holding this, fold the right-hand side of the wrapping paper to the middle and overlap it on top of the left-hand side.
If you got your measurements right there should be a decent overlap! I then usually place a small piece of tape on the joint to secure it so I can then make a fold indent on the right-hand side and straighten any of the paper that may have gotten creased.
Once you are satisfied with the folds and the shape of the gift, use a long strip of tape to secure the entire paper joint in the middle.
Step 4 - Fold and secure the sides
The sides are the tricky part but you just have to remember that you are aiming to create an effect like an envelope!
First, find the edge of the clothing at the top of the wrapping paper. Next, fold the entire length of the paper over to create a crease - this just makes the process easier.
You now have to fold in the corners on both sides to create the diagonal edges. It’s a case of taking the corner point of the paper and folding it over to the crease you just made so that one edge runs parallel with the fold. Do this on both sides and you should have something that looks like the back of an envelope.
Finally, fold the entire section over and tape it to the top of the gift wrap we folded in step three. You have to repeat this process for the other side and you should have a gift that ensembles an envelope!
Step 5 - Add decorations
I like to turn the gift over and place any decorative items and gift tags on the opposite side because this side should be a single piece of wrapping paper with no joints or tape. It just looks cleaner and you need to make it clear that this is the “top” of the gift to hide the tape and joints on the other side.
I typically place my gift tags in the top left-hand corner of the gifts as opposed to in the center as it looks more stylish and professional. However, you can also create a cross-shaped ribbon and then place a gift tag and bow in the center of the gift.
Folding is Key to Wrap Clothes With Elegance
As you can see, there isn’t much too the wrapping process and you should now have a clear idea of how to gift wrap clothing. I want to reiterate the importance of folding and presenting the clothes properly as this makes wrapping so much easier. Do this first and the step-by-step guide will be a doddle!